# Penpot Guide
In this guide, we’ll learn how to work with Penpot and Corex UI Design Tokens.
Because we love open source, we adapted our design token scripts to generate a Penpot-compatible JSON file.
This file includes unit calculations, theme creation, and automatic conversions to match Penpot’s supported format.
You can find more information about the Penpot tokens format in the official Penpot documentation .
Penpot is evolving quickly, with a growing community and rapid feature development.
Please note that some features such as synchronization, shadows, andremunits are not yet available.
# Tokens File
You can find the Penpot token file in the Corex UI GitHub repository inside the @corex-ui/design package:
# Installation
Open your Penpot account and create or open a project.
- Navigate to the Design Tokens tab in the left sidebar.

# Import
- Scroll to the bottom of the left sidebar and open the Tools menu.
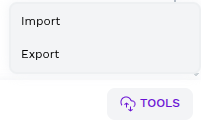
- Choose Import / Export Design Tokens.
- In the import modal, select Import a single JSON file.
- Choose the
tokens-penpot.jsonfile you downloaded earlier.
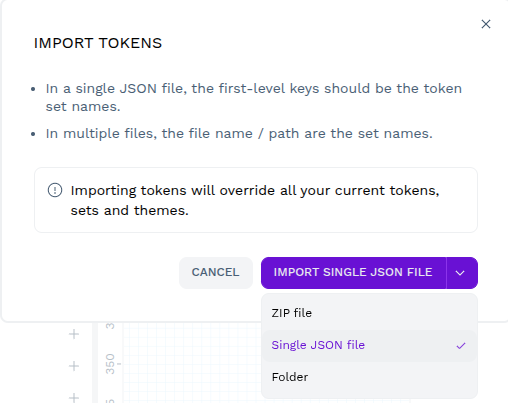
Penpot will automatically import the token groups (colors, typography, effects, etc.) into your project.
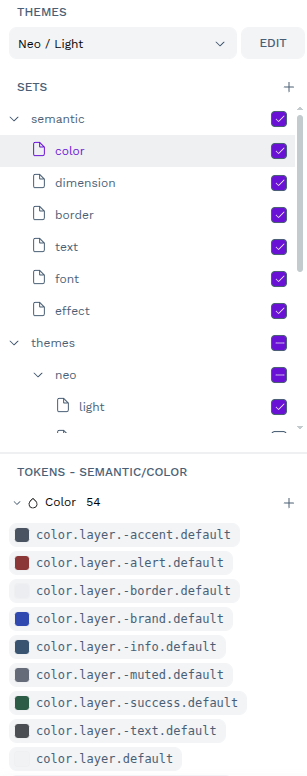
# Apply Tokens
Once imported, you can:
- Apply color tokens to fills, borders, or text
- Apply text style tokens to text layers.
- Apply radius and spacing tokens to shapes and containers.
- Use theme tokens to quickly swap between modes (e.g., light/dark).
# Export
You can also export your updated Penpot tokens:
- Go back to the Tools menu.
- Select Export.
- Penpot will generate a JSON file you can use to update your local Corex UI design tokens.
With this setup, Corex UI integrates seamlessly with Penpot, giving open-source designers and developers a shared token foundation.